Pages

Friday, November 19, 2010

Cotton Boll on my Mind

I've got Cotton Bolls on my mind. When I was young I lived in Arizona where there are many cotton fields. Well, perhaps many is a bit of an exageration. My mother was a nurse/teacher at a school for "Drastically Disabled Children" I don't think that term would have been allowed today. Actually that was the term the staff used and it wasn't until I was older I learned the school was actually a boarding school run by the state for severly handicapped children.


In the summers I spent many days at this school, mostly because I had no childcare and the school was air conditioned. The children were usually dumped at the school by their parents and never went home again. It wasn't a cheerful place. But that's for a different blog, not mine.
Next to the school were cotton fields as far as you could see and I spent a lot of time gathering up the Cotton and bringing it into the children in the classrooms. They didn't get recess and I was always trying to figure out ways I could get a little playtime with them. Nurse Ratchet, the head nurse (not her real name), didn't like the distractions I brought to the school and I was often kicked out -- left alone to wander the cotton fields.


My children are so excited about my quilting. I mean really, just look at the excitement on my daughters face here:


Well, maybe excitement isn't quite the right word. My youngest is a little, but my older ones are more apt to say... "Please don't give me another quilt for Christmas." In my defense they aways get other gifts as well. REALLY.


My middle child the other day said she'd like a specific quilt. I was excited. When she showed me the quilt, it was an intricately appliqued pattern called Cotton Boll. It is a beautiful pattern and looks like a lot of work. I prepared myself mentally to take on the challenge.


Then, low and behold, there on Bonnie Hunter's Blog I read about her latest mystery quilt called Roll, Roll, Cotton Boll. Oh, goodness, I could make that quilt for my daughter and it would be fun as well! I love a good Bonnie Mystery!


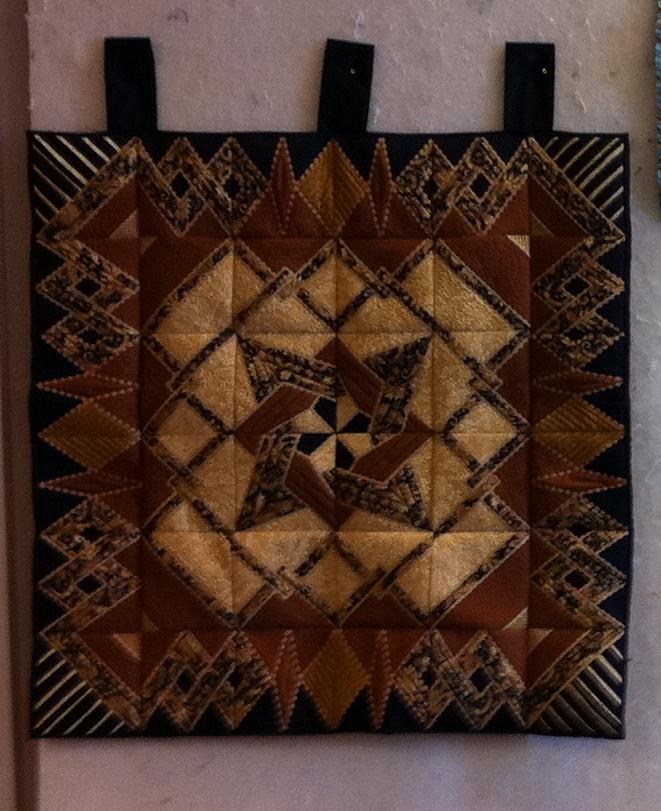
The last one I did is the Tobacco Road Mystery. Here's a picture of my version of it here:


For this mystery I need:


  • About 5 yards of neutral scraps (FQ and smaller, the more variety the better) I should be ok here, might need to visit the LQS, darn.
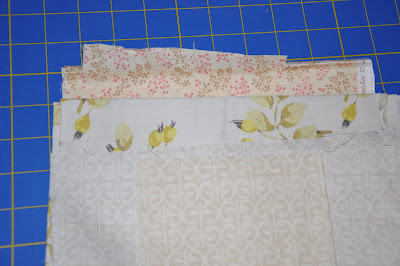


    Ok, that is a pitiful display of neutrals. Here I thought I had so many.


  • About 12 to 15 varieties of green. Bonnie used avacados and yellow greens. Sorry Bonnie, can't do those. As this is for my daughter, I'll use Kelly, Lime, Bright and Deep greens. I use green alot so I'll probably be low, better head to the LQS!

    Although, now that I look at what I do have, some of these are so pale they almost look like neutrals.


  • About 12 to 15 varieties of pink. Bonnie is using doubles, but I'll use mostly brights, raspberry shades and whatever else I can find.


    Lots of pinks here. I buy pinks and sherberts all the time, I just never seem to use them...


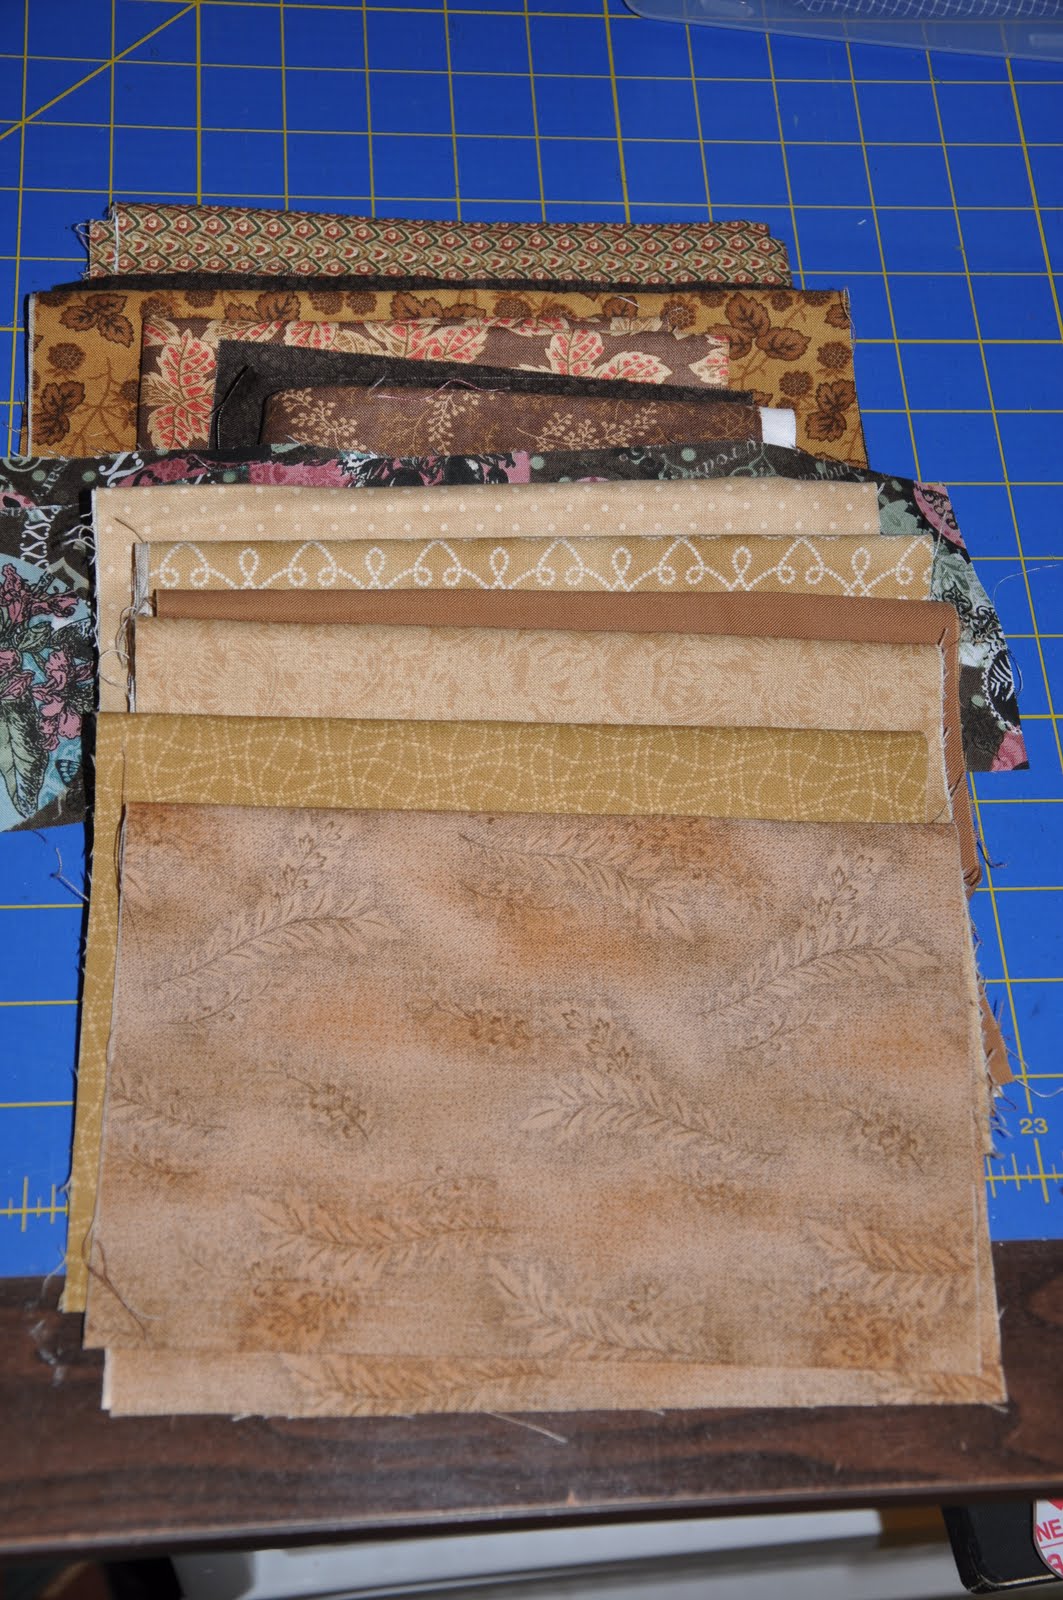
  • About 16 varieties of chocolate. Yummy!

    Actually, some of these look like neutrals in this photo. I think I'm beginning to see a running theme here. Maybe I'm neutral dislexic.


Also, we'll need some larger cuts. Two yards of red for the Anchor color (Bonnie is using less, but I'll add a second border and binding) I'm trying to decide between these two fabrics. Any thoughts?


And finally 1/2 yard of green for an inner border:


Mmmmm, lots of blue in that green border fabric. Do you think it will matter?


Mysteries are fun! Quilting is fun! Cricket wants a new quilt! Nice Huh! Won't my daughter be surprised. Do you think she'll notice the intricately appliqued, advanced Cotton Boll pattern she asked for is really a beautiful scrappy Cotton Boll Bonnie Hunter pattern?


Cheers,

Dionne

Wednesday, November 17, 2010

Santa Came early via Missouri!

You know me, always involved in a swap, I am.


I try to get my stuff out right away, so I don't have to think about it again. And of course, I had forgotton completely about the Candlemat Swap I was doing. So yesterday the mailman comes with a package for me.


And look what it was! A BEAUTIFUL candlemat, in lovely fall colors!


Also it came with some lovely gifts, all wrapped nicely with a bow. With a BOW! (I'm taking notes here because it was such a nice touch and I never take the time to wrap things with a bow -- not even to my DH). But what am I thinking anyhow, he wouldn't appreciate a bow anyhow. But a fellow quilter would, I did!


Mary, I'm definately going to do this in the future. What a festive package.


She also sent me a cute turkey magnet, perfect for the coming holidays! And a wonderful heating bag, filled with corn from her farm. My family are all athletes -- so this will come in handy. Plus it gets chilly in Washington state.


And then this BRILLIANT denim bag. It's the perfect size and sits up on it's own. Perfect to put next to my machine to catch stray threads and bits and bobs meant for the trash and not my sweater.

Thank you Mary!

Leave me a comment and let me know what you think of Mary's lovely work! Isn't it beautiful.
Cheers,

Dionne

Monday, November 15, 2010

Double Cross Christmas

A few weeks ago I posted the first month of the AccuQuilt block of the month program. I had forgotton to add an alternative layout option.
This is one option if you don't want to make the sampler quilt, but want to use the first block - the Double Cross Block, in a single quilt.

Here is the original block:


Here is a quilt using the Double Cross Block, with solid cornerstones and an alternative faux irish chain block:


I changed the colorway to red, green and gold for christmas. I'm not finished with this quilt, and I expect with my other projects it won't be done in time for christmas. At least cutting it out was a breeze!

Cheers,


Dionne

Saturday, November 13, 2010

One Quilt, Six Colorways

The class ended and all the student quilts are in various stages of completion.


I love seeing how one quilt can look so different.

Cheers,


Dionne

Thursday, November 11, 2010

GreenPiece - Month Six, half way there...

Yes, it's true, we're half way through the year already!


This is so exciting because the blocks are looking really nice. The two blocks we're making this month is SO much easier than last month!

Start with four 1 1/2" strips in red, brown and taupe. Sew one taupe strip to one dark strip.

Cut strip sets each into eight 1 1/2"segments. Sew segments together in rows and make a 16 square center that should be trimmed to 4 1/2" x 4 1/2"


The blocks are made with four flying geese, four 2 1/2" corner stones and one 16-square center. This month there are two lovely applique blocks as well. I particularly love the ginko pattern.


Here is the same block in a an alternate colorway:


Cheers,


Dionne

Tuesday, November 9, 2010

Night-About-Town Wristlet!

This wristlet is so easy to make! One fat quarter will make two bags with handles.


We made this pattern as a way to practice on the stitch regulator, but I really love how they've come out.


Perfect little wristlet for a night on the town, or an afternoon lunch with the girls.


And here is one more picture:


Cheers,

Dionne

Friday, November 5, 2010

This is not what I planned

I had this idea in my head for a beautiful quilt. It was really lovely. This quilt would evoke all the crispness of a late winter afternoon. But something just isn't right.


Granted I'm not even half way done with it, there is still WAY more to do on this bad boy ( I say bad because it just isn't turning out like I had planned) but already I'm a little disappointed.


The problem is, I can't figure out where the actual problem is. In my mind and on my pattern, such as it is, everything is a duplicate. It just doesn't LOOK right, or maybe I should say it doesn't FEEL right.


I know, I know, what can you say. You don't know what I was thinking of when I started this project, what look I was going for or even where I'm going with it now. But I just thought I would go ahead and share my disappointment for the day with you.


Should I continue or just cut my losses? I guess since it's not a disaster I'll continue and still finish this off. Think it will improve?


I guess since there is no way of correcting a problem that can't be found I can't make corrections to it.


Maybe I should have made the 2" strips more wonky. NOT all exactly two inches, angled more in the blocks.... Mmmmmm....


Cheers,


Dionne

Tuesday, November 2, 2010

Halloween is Over...

Thank Goodness!


It was one Halloween party after another for the last four days. It took me two days just to recover!

Is that REALLY me? Well, it was a lot of fun anyhow.

Cheers,

Dionne

Saturday, October 30, 2010

Secret Candlemat Swap

Shhhhh... it's a secret.

I'm participating in a Candlemat swap. Lately I've only been doing private swaps, but this public swap has been fun. My partner asked for a candlemat made in earth tones. I loved these colors and ended up making two, one for her and one for me.


This picture of the back shows the machine quilting a little better.


For more GREAT pics of other candle mat 'finishes' check out these links:

A Legacy of Stitches

Anamarpatch

Sewing the Stress Away

Pinned Down

Well, there are so many, here is the Flickr group

Cheers,


Dionne

Wednesday, October 27, 2010

Death by Quilting Reprise - or Help How should I quilt it?

Some of you may remember last year (or there abouts) when I participated in Pat Sloan's Quilting game called Death by Quilting.


It was great fun - I made a very silly video about the whole thing. Best yet, I actually won the game. And it had nothing to do with my video, or actually anything in my control.


My winnings were pretty awesome, a wonderful bundle of Pat's fabrics (those fabrics are long gone, used in one of my favorite projects), several other goodies - including a queen of quilting crown, and a quilt top created by one of the other contestants.


Here is the top I won:


Those feet belong to my little guy.


I finished most of the quilting already. I machine quilted the top, but stopped because I didn't know what I should do with the "cottage corner"....


Any ideas?


Here is the picture I cropped. I thought it was kinda funny because my family was watching tv in the background and it looks like the guy on tv is looking at my quilting, held up by my young daughter.


Cheers,


Dionne

Monday, October 25, 2010

Double Cross Block, Accuquilt Month #1

Double Cross Block


Cutting Directions:

3" finished half square triangles


  • White fabric - cut 14


  • Green fabric - cut 4


  • Blue fabric - cut 6


6 1/2" triangles


  • Orange fabric - cut 2


  • Cutting System Directions:
    GO! dies used: 55009 (cuts 4 - 3" finished triangles), 55001 (cuts 2 - 6 1/2" triangles)

    Studio dies used: 50163 (cuts 6 - 3" finished triangles), 50033 (cuts 4 - 6 1/2" triangles)


    When using the Studio cutting system:


      Orange - layout one layer of orange on the 6 1/2" triangle die, this will result in two extra triangles, you will have the opportunity to use these in later months. Or you can cover half the die and only cut two triangles.


      3" Finished triangles - layer the fabrics on the die in this order:


      • blue, right side up


      • white, right side down


      • green, right side up


      • white, right side down


      • white, either side up

      Now you will need to pay attention to how you remove cut shapes from the die. Gently pull off the top layer of white triangles and set those aside.


      Next, gently lift the next two layers together. You will have white/green right sides together ready to sew. You only need four white/green "couples" so set two white triangles aside and two green triangles aside. You will use them in future months.


      Finally, lift the blue/white "couples" You have six cu,t right sides together, ready to sew.


    Note: If anyone wants these cutting directions for the GO! system, just let me know. They are only slightly different.


Sewing Directions:


  1. Sew 6 white and blue half square triangles right sides together. Press towards the blue.


  2. Sew 4 white and green half square triangles, press towards the green.


  3. Layout 2 white/blue and 2 white/green half square triangles as shown.


  4. Sew together in a 4-patch. Press seams open. Make two.


  5. Sew 2 white half square triangles to sides of one white/blue half square triangle as shown. Press seams toward white added triangles. Make two.


  6. Sew 1 orange triangle to combined triangle unit from previous previous step.


  7. Sew 1 blue/green block to 1 orange/blue block as shown. Press towards the orange. make two.


  8. Sew rows together to complete block. Press seam open.


Cheers,


Dionne

Wednesday, October 20, 2010

My Garden Path Quilt

So I finished this quilt sometime back which I called Garden Path, not sure why that name really.


In one of my Block swaps I made this block from my same Garden Path pattern but with subtle christmas prints. Also I only used two fabrics instead of three. Should we call it Winter path?


Cheers,


Dionne

Sunday, October 10, 2010

Greenpiece, Month Five

This month you only need three colors: Background color, Burgundy and Sage Green.


The first picture shows the optional applique blocks you can make each month along with your blocks. Applique can either be wool or cotton. My final quilt won't have any applique at all except for the tree in the center block.


Cutting:
Background Color - 8, 2 1/2" sqrs for corners
2, 2 1/4" sqrs cut once diagonally
2, 5 1/4" sqrs cut twice diagonally

Burgundy - 12, 2 1/4" sqrs cut once diagonally
2, 2 1/2" sqrs for centers

Sage Green - 4, 2 7/8" sqrs cut once diagonally
6, 2 1/4" sqrs cut once diagonally

Piecing:
1 - Center Units: sew the small green and small background triangles to the center squares.
When you sew, be sure you match the long side of the triangle to the edge of the block. Pinch fold the centers to make sure you have them aligned well. You should have 1 Burgundy/Sage Center Unit and 1 Burgundy/Background Center Unit.


2 - Corner Units: sew small burgundy and small sage triangles onto the cornerstone background squares (2 1/2" background squares). Sew the long side of the triangle to two corner edges of the triangle. (see example in 1st picture). Be sure to center your triangles well on the side of the squares or you won't have a nice even quarter inch seam (see example in 2nd picture) You should have 4 Corner Units with burgundy and 4 Corner Units with sage.

3 - Inner Units: Sew the long side of the small triangles to the short sides of the large sage triangles. You should have 8 Inner Units.

Assemble Blocks:
1 - Join Corner Units and Inner Units. You should have 4 Unit A with double bugundy flying geese and 4 Unit A with a sage chevron.

2 - Sew large background triangles to the opposite sides of Unit A. Make 4, two for each block - pairing the different colorways together.

3 - Add remaining 4 of Unit A to opposite sides of center squares. Pair the sage chevron colorway with the center block with burgundy/background Center Unit and the double bugundy flying geese with the burgundy/sage Center Unit. You should have two Units.

4 - Assemble the rows on point. Makes two 8 1/2" x 8 1/2" blocks.


Cheers,

Dionne

Thursday, September 30, 2010

Carrie's Chrismas Forest.

Carrie has a little Christmas forest growing.


I made this little tree to add to the cheer.


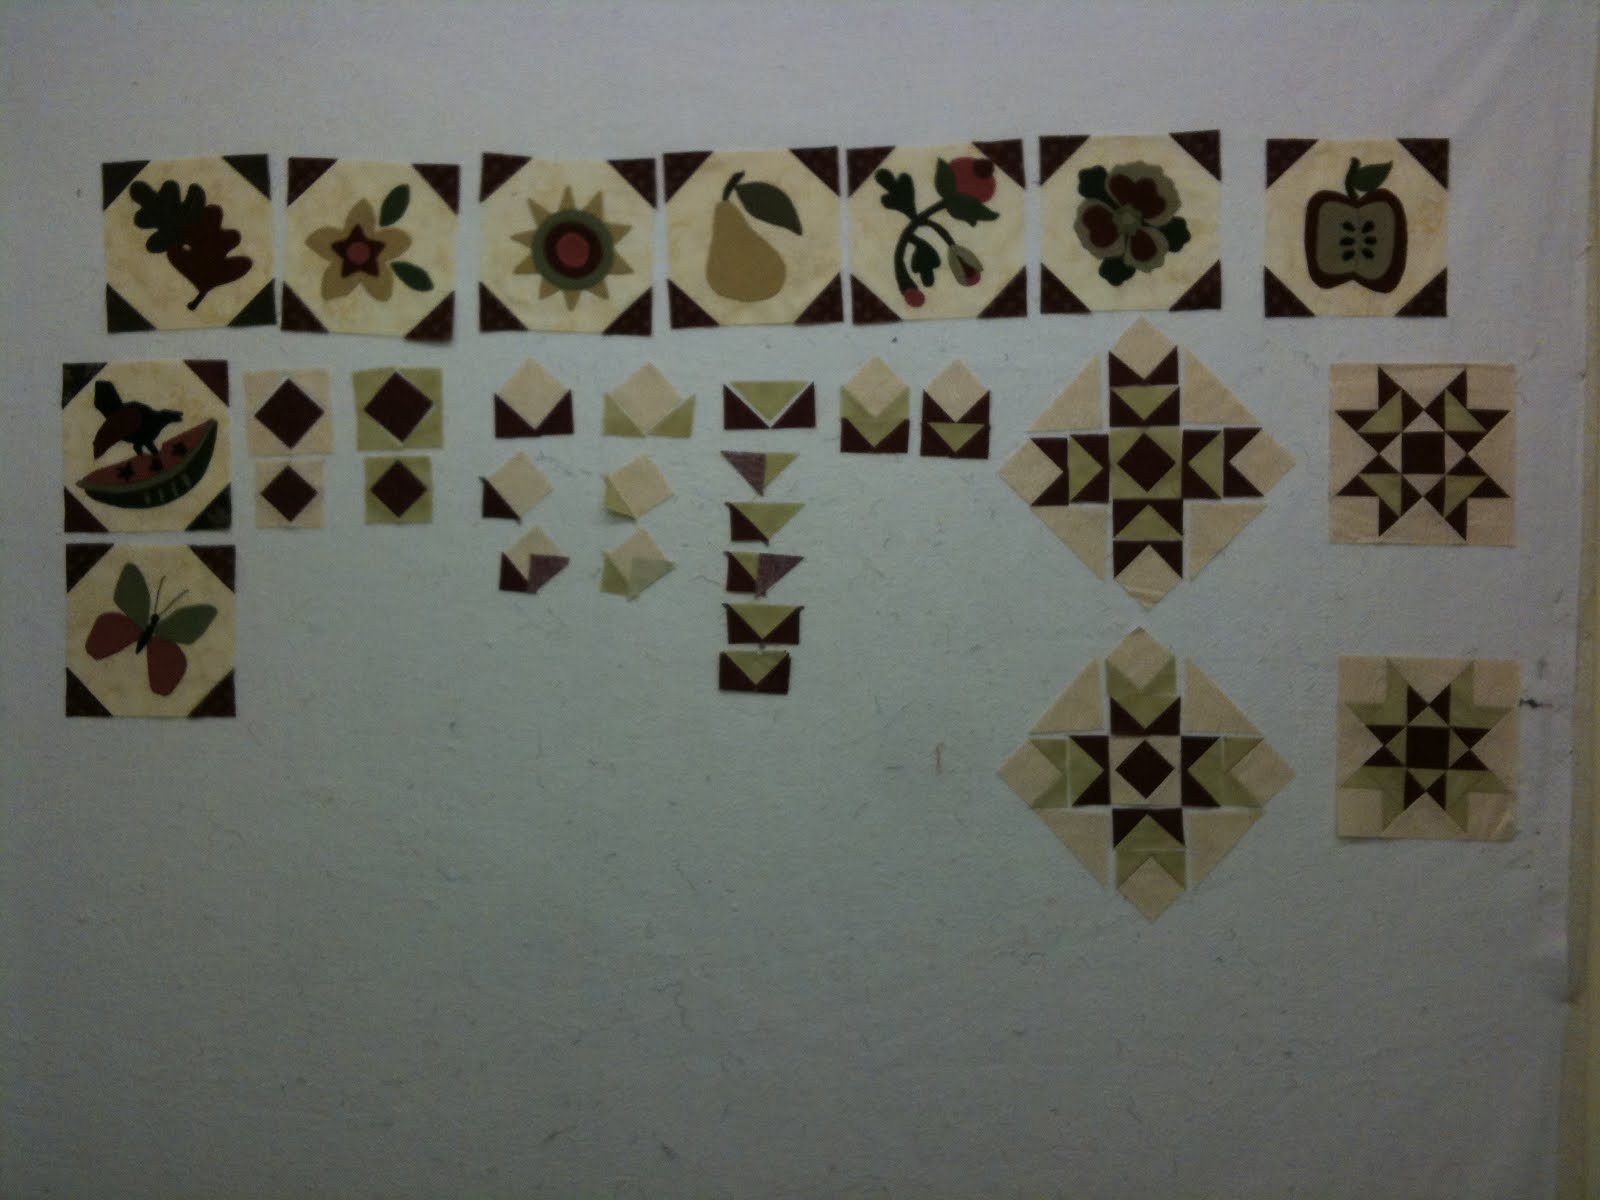
I love how the Santa sits among all the trees, some very modern and others are rather traditional. Most are applique but some are pieced.


Aren't they lovely!

Cheers,

Dionne

Monday, September 20, 2010

WOW! I got the deal of the Century


It was a rainy afternoon on Friday. I had groceries in the back of my car and a glance at the clock told me the kids would be getting off school in little more than an hour. Still, the sign for a garage sale in my neighborhood caught my eye and I stopped.


Good thing I did. There on a table was a large box marked "Fabric" -- Cool, I thought, just what I need. Well, probably not really. My stash seems to be pro-creating on it's own right now, but a deal is a deal so I dove right in. Beside, maybe I would find something vintage in there.


Well, nothing vintage to be found. In fact, it was actually a box of mostly acetate and polyester curtains. Go figure! But there in the bottom of the box all crunched up in a ball was a crazy quilt in pinks and greens.


Now, I don't really go for those colors myself, but I couldn't let this little gem go sitting in the bottom of that dark, dank box, could I? No, I knew you would agree. That little thing needed liberating. It hasn't been quilted and there is no batting so I believe it's meant to be a nice little table topper for a breakfast table, perhaps.


I asked the hostess how much she wanted for it and she seemed surprised to even see it. "That thing, not even sure what it's for, you can have it for free." she said.


Free? Did I hear that right? Yes, indeedy do. I pushed her for more information, but she had no idea about where it came from or who made it. Sadly there was no label.


Who do you think made it? Perhaps it was a gift that didn't receive a proper reception. I hope not.


Cheers,

Dionne

Thursday, September 16, 2010

The Bridle Trails Quilters and the Accuquilt Cutting System

Did you know I have a quilt club? It's not the guild with a lot of women (all very lovely) and a lot of politics (not so lovely). And it's not the monthly Block of the Month club at my LQS (Local Quilt Store), which I also enjoy.

We're a small group of friends that meet monthly. We host private swaps that include many regular "Guests" every month - more or less. We drink tea (or wine, or margaritas when appropriate -- and sometimes when not appropriate).


We quilt and we laugh and we've been known to cry. Each of us brings our ideas to the group, we mull them over and choose projects.


We're all quilters, but we each have our lives, families, careers (or lack thereof)... in short, we all have our stories.


I'm going to share with you my project. Maybe I'll introduce you to each and every one of the girls as we go.

It's a good club. We call ourselves the Bridle Trails Quilters.

Sewing is a passion I've had all my life. It isn't my career but it's something I do, always. I teach sewing to kids. I teach quilting. And more often than not, I host the quilt club.


I also have an Accuquilt Studio cutting system. I love my cutting system. We use it a lot. I'm talking A LOT... at the classes we teach (those of us that teach), in our swaps, in our projects.


Because of poor customer service, I will never do business with Fons & Porter again. Granted, I expect excellent customer from a company that is willing to take my money. But that's a different story, all I want you to know is that Accuquilt surpassed my expectations! They have brilliant customer service.


However, I find their patterns lacking. If you are looking for a regular old pattern, you might find them adequate. What I'm looking for from Accuquilt is a pattern that's going to address the actual tool, the cutting system.


Accuquilt has a sampler BOM they started about 4 months ago. I haven't done it yet because I don't like their directions.


My quilt club and I decided we're going to do their Block of the Month but we're going to re-write the directions to address how to use the cutting system.


I'll rewrite the directions here for anyone who has a GO! or an Accuquilt Studio cutting system. Feel free to follow along if you have one of their systems as well.


We (almost) unanimously voted to make our quilt scrappy. Fellow quilt club member
Mai requested we do controlled scrappy so we're going to use the same colorway in the pattern, only scrappy!


Our colors are: white/cream, Blues, Greens, oranges, reds


Month one is called 'Double Cross Block'
Cheers,


Dionne

Monday, September 13, 2010

Greenpiece, Month 4


Month four uses four fabrics: cream for the background color, burgundy, green and light pink.


I like the star within a star look to it.


UNITS:


- Four large flying geese in Burgundy/Background, Four large flying geese in Green/Background


- Four small flying geese in Burgundy/Pink, Four small flying geese in Green/Pink


- 10 2 1/2" squares for the cornerstones and centers


- 8 1 1/2" squares for the cornerstones


Flying Geese:


1. Draw a diagonal line on the wrong side of the four small 2 7/8" squares.


2. With right sides together place 2 small squares in oposit corners of the large 5 1/4" background square. Stitch 1/4" on either side of the drawn line.


3. Cut on the center line and press the small triangles away from the large triangle. You will end up with an angular heart.


4. Place another small square on the remaining corner of the large triangle (heart shape unit) and stitch 1/4" along either side of the center line. Cut and press.


End result:


Two large flying geese units that measure 2 1/2" by 4 1/2"


I think it was Eleanor Burns who first introduced this method. But I've been using it for years. The final blocks for the BOM are 8 1/2"


Cheers,


Dionne

Tuesday, August 10, 2010

August Greenpiece

So I had no time to actually complete this months BOM. With all the travel, for work and for pleasure, I didn't have a chance to finish. So this month I'm sharing with you the examples.
This Moda sampler uses more than 54 different fabrics. Thank goodness I don't have to purchase them all myself. Just one minimum purchase price at the beginning of the year and all the fabrics are provided. I like it, feels like I'm getting the blocks for free every month!


So we also have a chance to share our work. I didn't have anything to bring this time, but the following is a quilt is made from bandanas. The bandana centers are red and the border corners of the bandana make up the border triangles. She added the blue and white squares to set off the borders, then added the double border as an afterthought because it just didn't look finished without them.


Isn't this a pretty little garden. This quilter took flowers from her guild swap, attached them to several different yellow blocks. She cut the blocks from corner to corner twice then sewed the blocks back together in a random order creating quite a nice scrappy look. The leaves were appliqued on last.


Cheers,

Dionne

Thursday, July 22, 2010

My Design Wall

I'm happily in Scotland now. It's a little family time. My husband is from Scotland, moved here when he was thirty. He visits home frequently, but this is the first time we've all been back together as a family.

Just about a week before we left, here was a picture of my design wall. The block on the right is an orphan left over from a finished quilt called "Blue Onion" I just finished it in the last month.

The trees are the beginning of a bottom border on my Around The World Quilting Bee quilt. My quilt is a village of cottage blocks. It's a lovely quilt, but I wanted to add a row of trees along the bottom border. I'm not very far am I.

The last item is now a completed project for a magazine article. Can't show you any more than that just yet. I was on such a deadline during the last few days before I left. Getting us packed and ready to go. I had a work deadline. . . .

Cheers,


Dionne